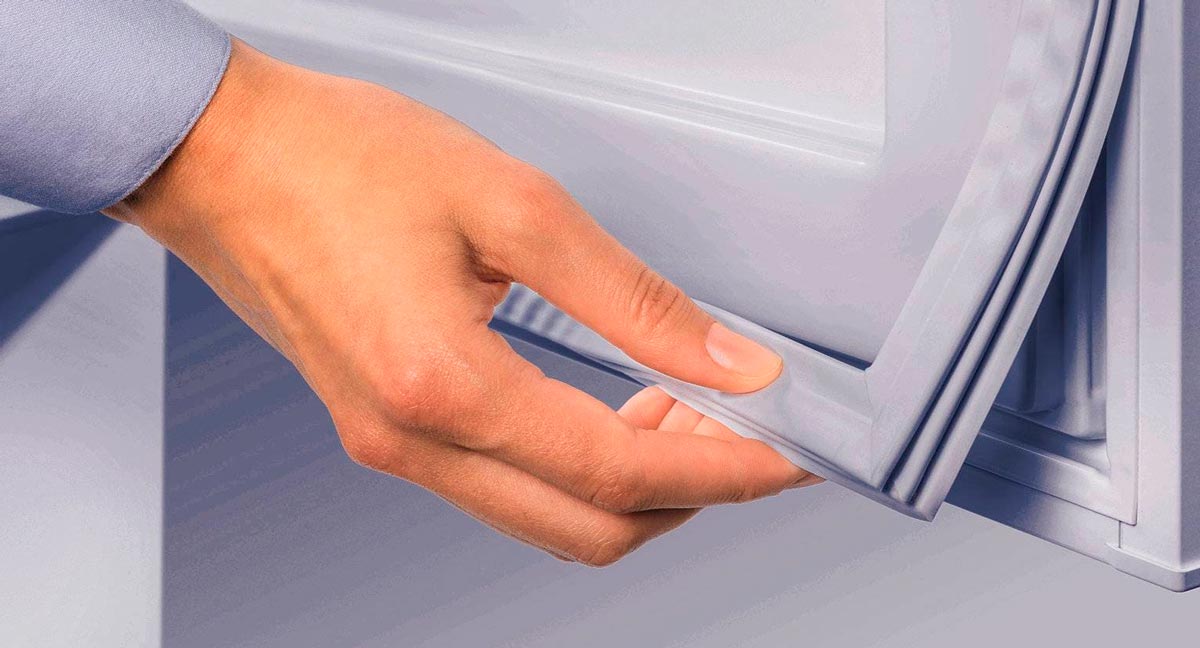
Over the years, the refrigerator seal gradually wears out and becomes unusable. As a result, the door of the unit no longer fits tightly against the cabinet. Food in the chamber begins to spoil quickly, and the compressor works non-stop to maintain an optimal temperature regime inside the device. Energy resources are consumed, but the unit doesn’t do its job – it doesn’t cool the food properly. If you ignore the malfunction, it will lead to a breakdown of the equipment and costly repairs.
This article will tell you how to repair a torn refrigerator door seal.
How do I find the gap between the door and the case?
The first sign that should alert you is frosting. If the refrigerator is properly cared for and defrosted in time, there should be no growths on the back wall. Intense formation of frost, frequent activation of the compressor – all this points to the malfunction of the sealing tape.
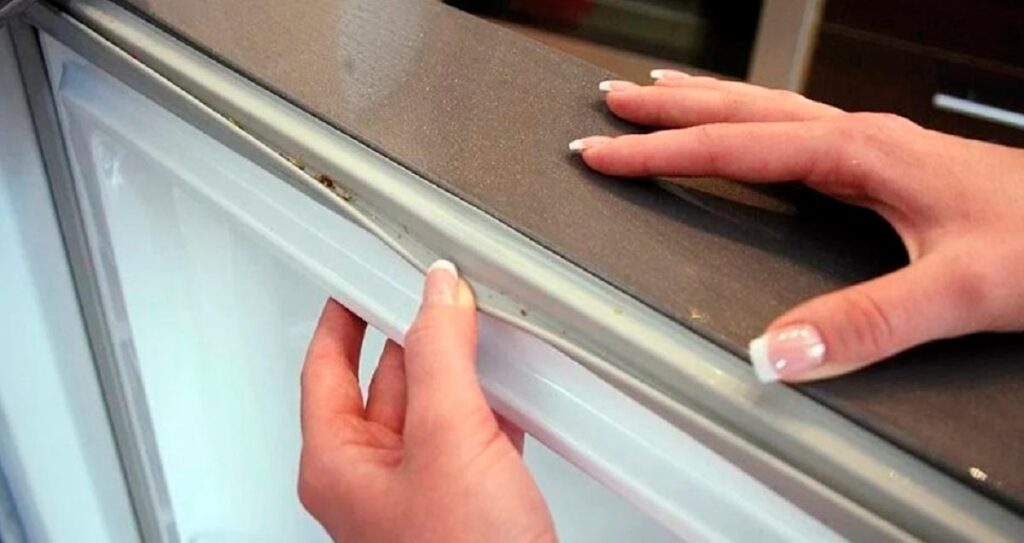
Sometimes malfunctions can be determined visually. For example, if the belt is cracked, has obvious defects, is heavily dented, or is loose from the door, it is obviously time to take care of it.
The band may also be loose due to a poorly maintained refrigerator. If crumbs have accumulated in the recesses, the material will expand in these areas and then a gap will appear nearby.
Minor damage can be repaired by restoring the elasticity of the rubber with hot water or a streifen. But a cracked and yellowed seal will definitely have to be replaced.
The gap can be absolutely imperceptible, but still let air in. To determine such a breakdown, masters of the service centers use special probes 0.003 inches thick.
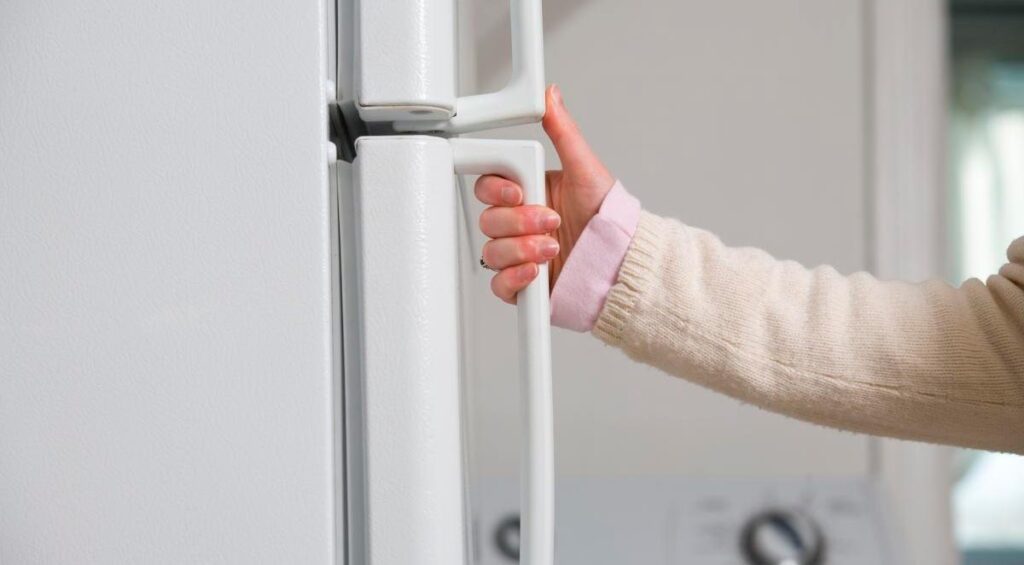
But there is a simpler way. The door is opened, a paper is inserted under it and tried to move it up and down. If the sheet is securely clamped, the seal is fine. If the paper moves under the rubber band, the latter needs to be restored or replaced.
After the work is done
Replacing the old seal in your refrigerator is a simple task for an experienced repairman. However, it is important to know how to take care of your appliance to avoid a second breakdown.
- Observe the defrosting schedule (for outdated models);
- Periodic inspection of assemblies and parts for decay, unpleasant odor, and crumbling;
- Avoiding overheating or overcooling (especially important for equipment that is not in use at the moment, but stored in a warehouse or garage).
What to glue the rubber band to the door in the refrigerator
When deciding how to replace the sealing rubber on the refrigerator, first of all you should think about how to fix it. Glue is a universal tool used for this purpose.
To glue the rubber band, only adhesive that retains its elasticity when drying is suitable. For example, rubber and a number of its modern analogues. Before use, carefully study the instructions, because during use in those places where the glue layer is not elastic enough, the rubber band can come off and move away from the base.
To avoid this, it is important to properly prepare the surfaces. After removing the rubber band, it is necessary to remove adhesive residue with a spatula. The use of sandpaper is acceptable, but with extreme caution, so as not to peel off the layer of paint.
Tip. It is also recommended to grind the rubber surface with a bicycle curing trowel.
Mounting with self-tapping screws is the least practical and is used less frequently. The disadvantage is that it is difficult to ensure an even fit of the seal to the door in this way.
Professional repair
This option is the easiest and the result will be one hundred percent. You have probably already guessed that we will talk about how to repair the rubber band on the door of the refrigerator with the help of a professional. Many people are intimidated by it, because you might think that you will have to take your refrigerator to a repair shop and then take it back from there after the repair. This is a delusion. The repairman from the service will come to you at the appointed time and will change the rubber seal on your refrigerator at home in a few minutes.

The pros of this option:
- You won’t have to spend hours figuring out the model and method of attachment and then trying to remove the rubber seal yourself. The repairman will come and do it all much faster.
- Also, you will not have to defrost the refrigerator unnecessarily, it will be enough just to take some open food out of it. Since the work of the repairman will take a little time and the refrigerator will not have time to defrost on its own.
- In almost all services, the replacement of the sealant is made on the day of application. So you won’t have to wait a few days and watch your refrigerator gradually defrost due to the passage of air.
- This procedure is not expensive at all and is available to anyone.
Important: Before you call the service and order a repairman, specify the model of your refrigerator and the nature of the breakdown. When calling you will have to specify these data, as well as your address and a convenient time for you to come to the repairman. Be sure the specialist will help to solve your problem.
Types of elastic tape for the refrigerator
Older units were at one time equipped with rubber seals. It will not be easy to find similar tape, but it is easy to replace it with a suitable size analog.
Most refrigerator models on the market today are equipped with polymer “rubber bands,” which are so called by tradition.
The main difference between the gasket is the number of cylinders. Most often there are those consisting of two cylinders.
Some seals are equipped with magnets, which provide additional grip on the door.
How do I repair or replace the seal?
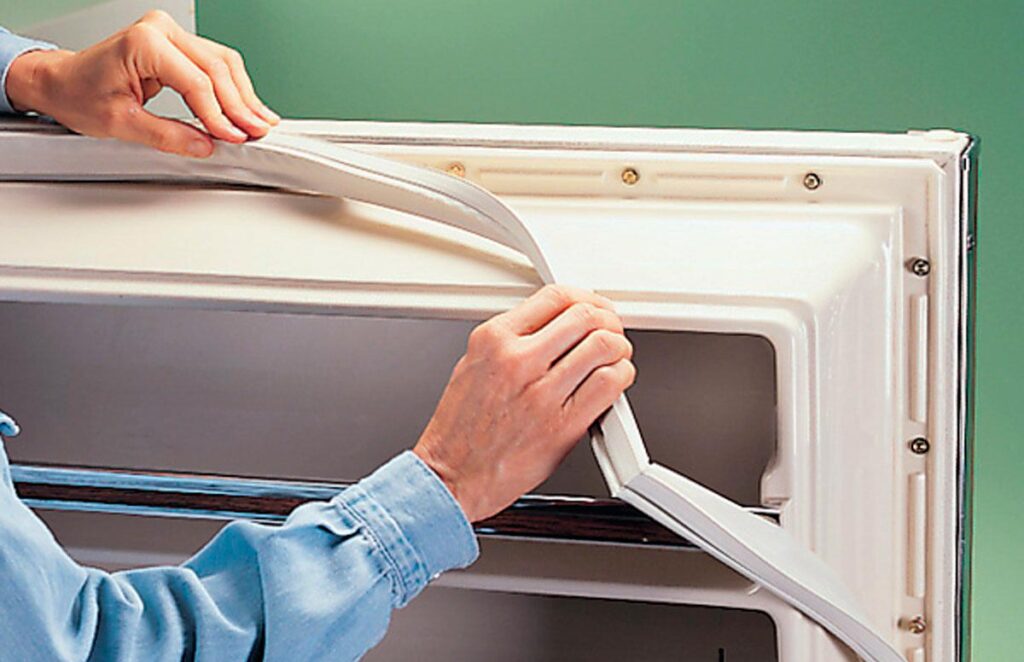
Before replacing the old sealant, find out how you can repair it. To do this, use a construction hair dryer or hot water. The repair takes place according to the following algorithm:
- Heating the sealant at the point of irregularity with a hair dryer or water;
- Smoothing the shape by hand.
Then close the door tightly and after the rubber band has cooled completely, check for gaps with paper. The sheet is put at the joint, close the door and try to pull it out. If the paper is easily removed, it is necessary to repeat the heating procedure again.
Sometimes it happens that the rubber band does not fit tightly due to improperly installed appliance door. In this case, replacement of the seal will not be necessary, it will be enough to adjust the door position.
Removal of the old sealant
Before you start the repair, you need to prepare the tools:
- Glue, a trowel, and solvent will be needed to install on adhesives.
- For self-tapping screws – a screwdriver or screwdriver.
- For the grooves – a construction hair dryer and screwdriver.
The algorithm for removing the old rubber will be as follows:
- Turn off and defrost the appliance.
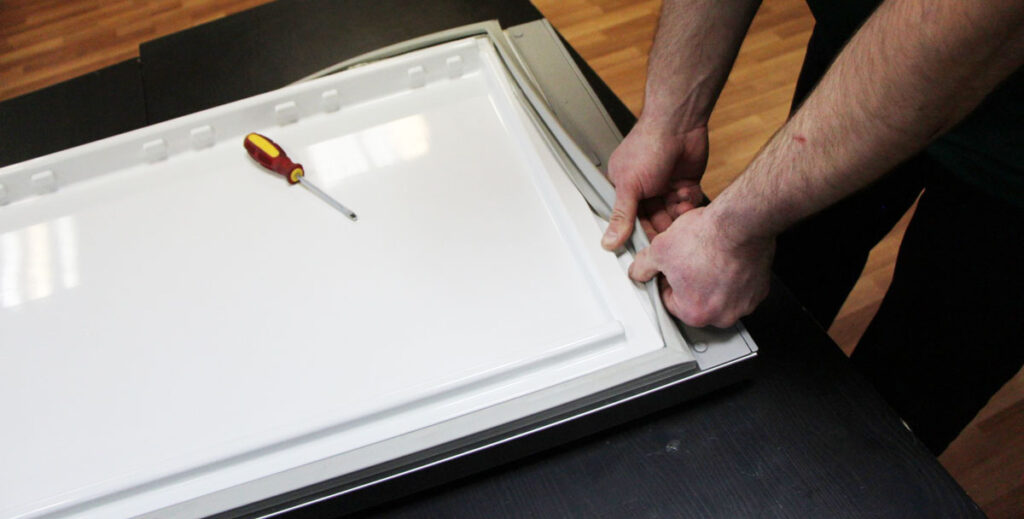
- Remove the door and put it on the floor or a table.
- Remove the gasket. Inserted in the groove rubber is picked up with a screwdriver and, gently tightening, remove. When fixing with self-tapping screws, it is simply unscrewed. If the sealant “sits” on the glue, it is cut off or torn off. Then the remains are scraped off with a spatula.
Note! Specialists recommend that the door should always be removed, as the quality of installation is significantly reduced when mounted vertically.
Installation of a new sealant
When installing use the method that was originally provided in the model.
Into the groove
- Heat the sealant well with a construction hair dryer or soak it in very hot water for a few minutes.
- Then spread it around the perimeter and insert the fasteners one by one into the grooves. For the sealant to “sit” more securely, you can additionally smear the location of the rubber band with glue or silicone sealant. Instead of adhesives, small self-tapping screws are sometimes used and screwed about 6 inches apart.
On the self-tapping screws
When using self-tapping screws, screw them into exactly the places where they were before dismantling. The fasteners should be placed often enough, so the tightness will be more reliable.
On the adhesives
The surface under the rubber and the rubber itself is degreased with solvent or white spirit. Then apply adhesive according to the brand instructions and apply the sealant, pressing it firmly around the entire perimeter. Specialists recommend using adhesives from reputable manufacturers, as they produce the highest quality product.
Install the door in place only after the adhesive dries completely, but not less than one day. If you do it earlier, the rubber may not stick completely and the tightness will be compromised.
Information! When mounting a rubber band on the freezer door, you should use special adhesives that can withstand low temperatures.
Check the quality of the installation
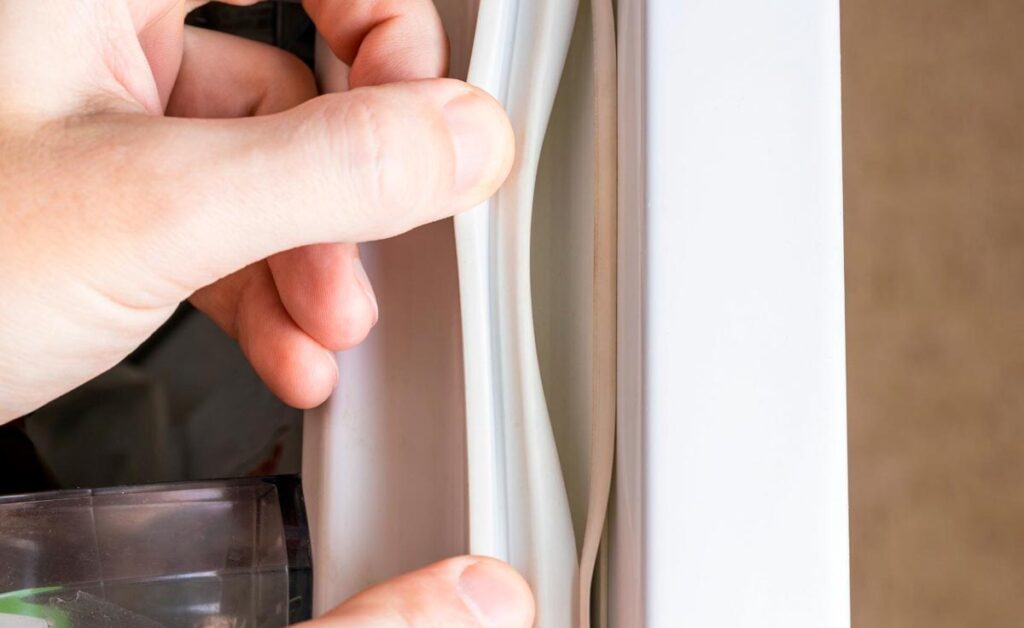
Once the sealant installation work has been completed, you should check to see how well and firmly it holds. If properly installed:
- The rubber fits tightly to the door, there are no gaps and gaps;
- The appliance opens with little effort;
- The door stands straight without the slightest warping.
After all the work is complete, the refrigerator can be turned on.
Symptoms of leaks
As a result of the constant inflow of air from the outside in the chambers is observed:
- Lack of cold in the chambers.
- Constant formation of ice on the rear wall of the cold room. Moisture in the incoming air contributes to this.
- Condensation on the bottom shelf.
- Rapid ice buildup in the freezer compartment.
- Door icing up.
These signs are not always due to a damaged rubber band, but also when the door tilts due to loose mounting brackets. Therefore, you should first check them and after adjusting securely fasten them. If during the inspection no visible gaps are found – check the tightness of the rubber band by means of a paper strip 0.6-0.7 inch wide.
It is placed between the body and the door, if there is no gap, the strip will be firmly clamped. In damaged places, it moves freely. The tightness of the fit can also be checked with a flashlight placed inside the chamber. In a darkened room all gaps will be visible.
The second stage: renewal
Not only humans, but all objects around them age over time. The rubber bands in the refrigerator are no exception. From light, moisture, temperature fluctuations, mechanical effects (slamming the door), the gasket gradually deteriorates.
On average, refrigerator gaskets last 3-5 years. Then they gradually compress, and the door no longer closes tightly.
The rubber contains synthetic rubber and polymers that absorb light and heat energy. The chemical processes occurring inside change the seal’s appearance. All rubber becomes dense over time. At the same time, it loses flexibility and breaks easily. Microscopic cracks appear on the surface, in which moisture accumulates. This further accelerates the process of destruction.
Is there any way to rejuvenate rubber? At the initial stage of aging, yes. There are several proven methods for this.
Attention! All procedures for repairing the sealing rubbers are performed with the refrigerator turned off. It is better to defrost old models and temporarily move frozen food to a balcony or other cool place.
Method #1 – with grease
Many people know that plastic windows need periodic lubrication. The rubber bands around the sashes are lubricated twice a year. This increases their service life by 2 to 3 times. So the window seal is not much different from the one in the refrigerator. Lubrication keeps the rubber elastic longer. The grease protects it from the negative effects of the environment, and softens it to some extent.
What does a rubber band malfunction lead to?
The tightness of the refrigerator and freezer compartments is ensured by an elastic rubber band with a magnetic insert inside. Its main function is to “glue” the appliance door tightly to the body when closing it.
If it does not adhere to the surfaces and the gaps are left, through which the warm air enters the chambers, the refrigerator malfunctions.
Service center workers note that up to 80-85% of all refrigerator failures are somehow related to leaky seals. If you do not pay attention to the malfunction in time, the situation only gets worse.
Warm air enters the gap between the rubber band and the refrigerator case. It contains water vapor particles, which condenses when the temperature drops and settles on the walls of the chamber in the form of droplets. This water freezes. Gradually frost is formed, and its layer is getting thicker.
This can cause the temperature sensor to malfunction. To maintain the desired mode, the refrigerator compressor switches on more often, runs longer and is less efficient than before.
The result is increased energy consumption and premature wear and tear on the expensive part. The user has to continually overpay on the energy bill, and later, to replace the ruined compressor.
Replacing the rubber band is a relatively cheap type of repair. But if the breakage is not corrected in time, trouble is guaranteed: you will have to defrost the appliance frequently, and later to give it to the service.
Timely restoration or replacement of the refrigerator rubber band is a simple and cheap way to avoid serious problems, which will inevitably lead to large expenses.
Why the door of a household appliance won’t close
There may be several reasons.
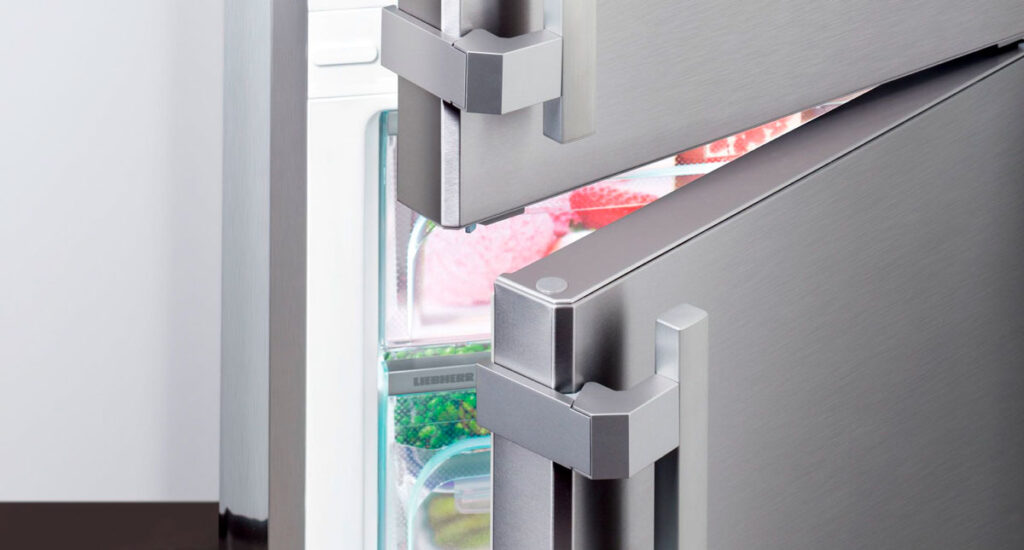
- Hinges. Over time, the door fasteners can become loose. This leads to incomplete closing of the door. In this case, the bolts should be tightened well.
- Damage to the housing of the cooling unit.
- Seal not fitting tightly.
Useful information! If the bad closing of the door consists in the damage of the refrigerator body, you should not correct the problem by yourself. It is necessary to contact a specialist for refrigerator repair.
Can the rubber band be restored at home?
You can try to repair a deformed seal yourself. Today’s resourceful users have developed a whole collection of methods, among which the most common is the option of re-hanging the door. Technically it is feasible, but there is no guarantee of complete success.
In addition, re-hanging the door, you need to think about whether opening the door to the other side will not cause inconvenience. After all, the refrigerator – it’s a fairly large unit. Every inch of space is taken into account for it. You may have to do a total rearrangement of the kitchen modules when hanging the door. Is it worth it?
